Bat Making Tutorial For EA Sports Cricket07 for Beginners

Hello everyone, you must have surely heard for ZAX-256 BatPack and the latest AC Studios 256 BatPack. They have put in lots of efforts with all the bats and have released every bat as a complete batpack. This is a tutorial that describes you how to create bats in EA Sports Cricket 2007,
or probably making bats in Cricket07 for beginners only. For
professionals, you already know this and rather do scratch making! You
may also create your own custom bat!
Please follow each and every step to achieve the best result(s)! This tutorial
is made by Kashif from CricketLife, I have modified it so that’s user
friendly and advanced for the pro’s and useful to the noob’s. Used with
permission.
1. Download the Bat-template(by Prakastic)
 |
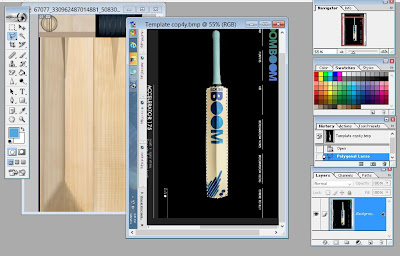
2.Open up the bat template and an HQ picture of the bat you want to
make(make sure it has all the clear views) and use the polygonal tool to copy the stickers of the bats.


So, that’s it – you’re done with your bat. Now, just save the Bat as a .PNG extension, and by FshEd’s graphic importer option, open up the bat you want to replace it, and It’s for sure the bat will appear! Well this was just a tutorial for beginners, but if you already know this, I’d recommend these things for the professional’s and the developers:-
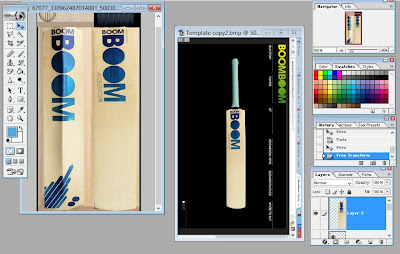
- Instead of using the Magic Eraser tool, use Polygon Lasso Tool or the Pen Tool to render out the stock logos and add it to the bat template.
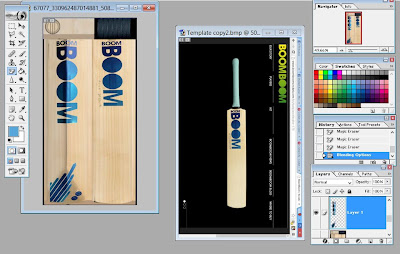
- About it’s edges, if they don’t match with the bat’s colour, change the Hue/Saturation of the bat and blur the logo’s edges using the blur tool. Sometimes, feather is also useful.
- To change the colour of the handle or anything, create a new layer, fill it with the colour you want, and then change the blending option to multiply.


Post a Comment